

iPhone RAW Photography
The introduction of RAW photo capabilities on the iPhone marks a significant leap for mobile photography enthusiasts and professionals alike. Shooting in RAW unlocks a level of detail and control over your images that was previously unattainable on a smartphone. This deep dive into iPhone RAW photography will explore how to harness this powerful format, offering tips and techniques to elevate your photography skills and produce stunning, high-quality images.

The Basics of iPhone RAW Photography
Understanding the fundamentals of RAW photography is crucial for maximizing its benefits:
What is RAW Photography?
RAW files are uncompressed images that contain a vast amount of data. This format captures all the image information captured by the iPhone’s sensor, giving you more flexibility in post-processing.
Benefits of Shooting in RAW:
Shooting in RAW allows for greater control in editing, particularly in aspects like exposure, color balance, and detail preservation, especially in challenging lighting conditions.
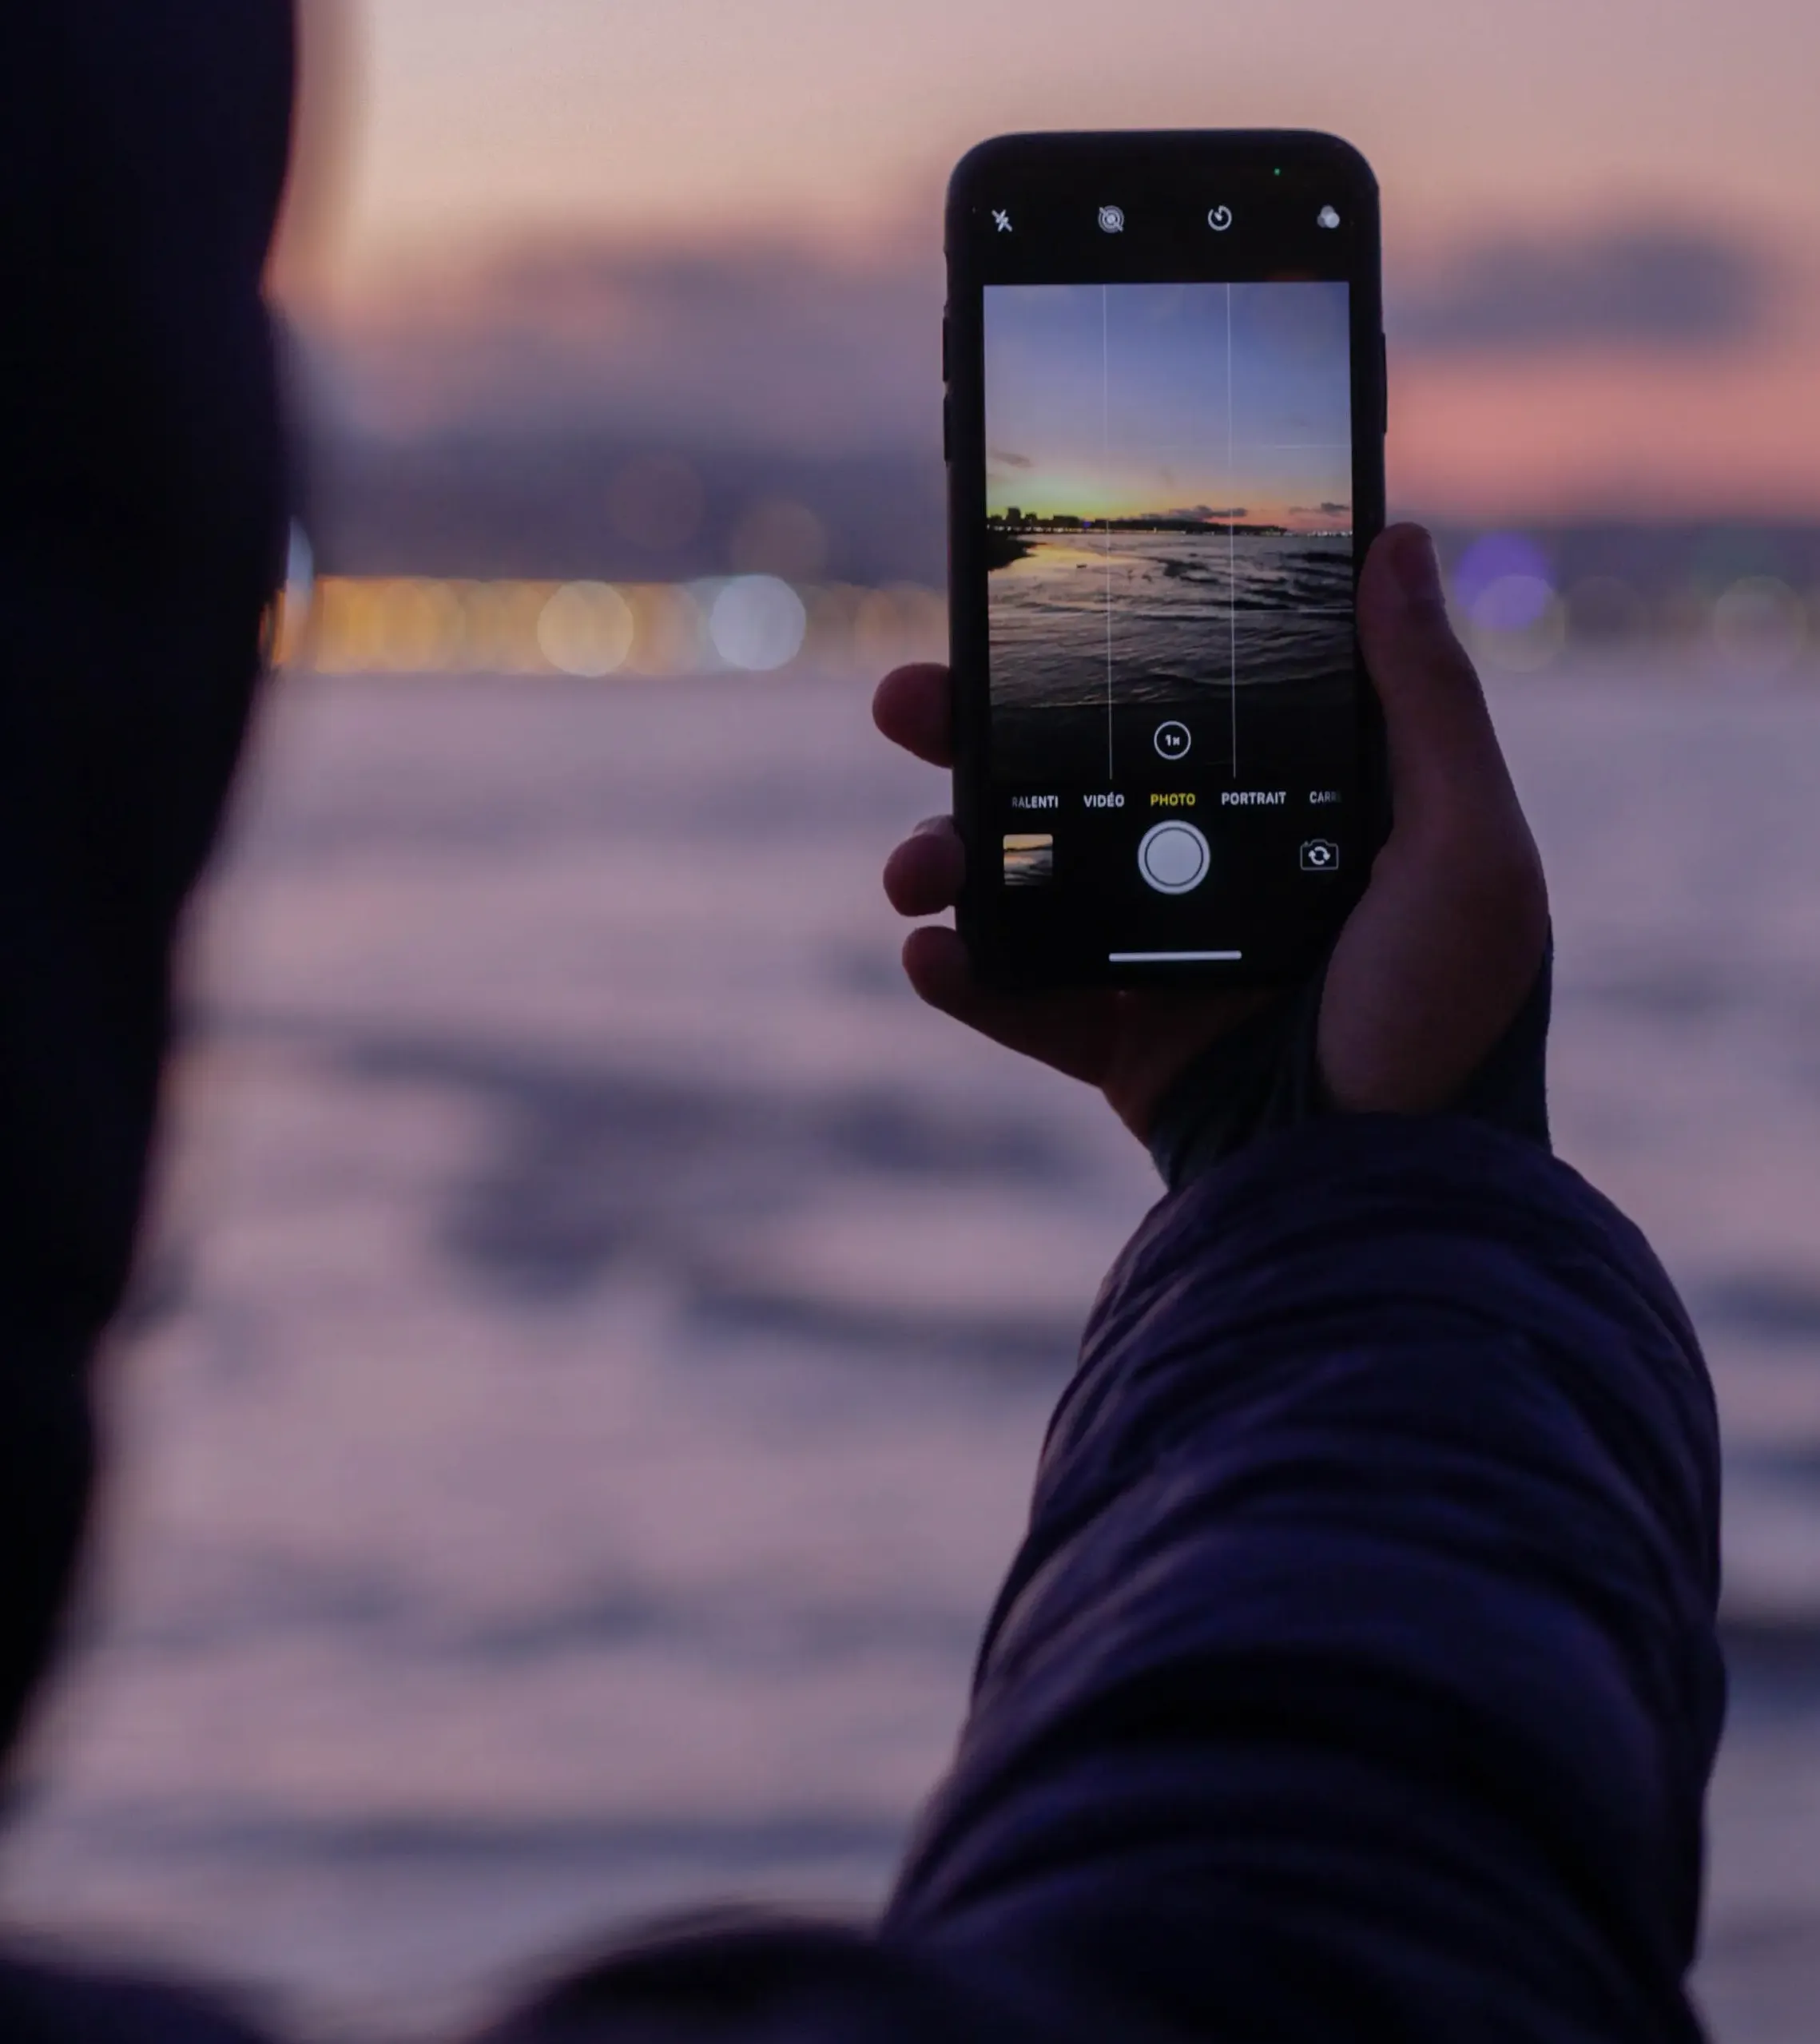
Accessing RAW on iPhone:
To shoot in RAW, use the native camera app on the latest iPhone models or third-party apps like Adobe Lightroom or Halide that support RAW photography.

Mastering iPhone RAW Photography
Maximize the potential of your iPhone’s camera with these expert tips:
Optimal Settings for RAW Shooting:
When shooting in RAW, manually adjust settings like ISO, shutter speed, and white balance to suit the lighting conditions and the subject of your photograph.
Understanding Light:
RAW files capture a broader range of light and dark areas. Practice shooting in varied lighting to understand how to make the most of this dynamic range.
Focus on Composition:
A well-composed image is as crucial in RAW photography as it is in JPEG. Pay attention to framing, rule of thirds, and leading lines to create visually appealing images.

Advanced Techniques in iPhone RAW Photography
Delve deeper with advanced strategies to enhance your RAW images:
Long Exposure and Bracketing:
Experiment with long exposure for creative effects, or use exposure bracketing to capture multiple shots of a scene in different exposure settings, which can be blended later for an optimal image.
Harnessing Depth of Field:
Utilize apps that allow control over aperture settings to play with depth of field, creating images with soft, blurred backgrounds that make the subject stand out.
Exploring Textural Details:
RAW format captures intricate details. Focus on capturing textures, which can be enhanced in post-processing to add a tactile quality to your images.

Post-Processing RAW Files
RAW files require post-processing to reach their full potential:
Using the Right Software:
Edit your RAW files with software that can handle and interpret the rich data, like Adobe Lightroom or Affinity Photo.
Adjusting Exposure and Colors:
Take advantage of the extensive data in RAW files to fine-tune exposure, contrast, and color balance, bringing out the best in your images.
Detail Enhancement:
Enhance sharpness and clarity in your RAW images to highlight details that are often lost in compressed formats.

Conclusion
Shooting in RAW on your iPhone can transform your approach to photography, offering a depth of creativity and control previously reserved for professional-grade cameras. By taking a deep dive into iPhone RAW photography and mastering these techniques, you can elevate your photographic work, capturing images that are rich in detail and ripe for artistic expression.