

Introduction
Have you ever gazed upon a photo where the subject is crisply in focus, while the background softly blurs into a dreamy wash of color? This artistic effect is known as “bokeh,” a staple in professional photography. But did you know that you can achieve this stunning effect with your iPhone too? Let’s dive into the top tips for iPhone bokeh photography that will give your images a professional touch.

The Basics of Bokeh Photography
Before we jump into the tips, let’s first understand what bokeh is and why it’s such a coveted effect in photography.
The Definition:
“Bokeh” comes from a Japanese word meaning “blur.” In photography, it refers to the quality of the out-of-focus areas in the image.
The Appeal:
Bokeh adds depth and dimension to photos, making the subject stand out and giving the image a professional, aesthetic appeal.

Top Tips for iPhone Bokeh Photography
Ready to unlock the secrets to breathtaking iPhone bokeh photography? Here are our expert tips!
Choose the Right Subject:
A clear, well-defined subject is key to a successful bokeh photo. Think portraits, flowers, or any object with interesting details.
Get Close to Your Subject:
The closer you are to your subject, the easier it is to achieve a blurred background.
Use Portrait Mode:
For iPhone users with dual-camera models, Portrait Mode is your best friend for achieving bokeh. The software will automatically blur the background while keeping the subject in focus.
Experiment with Third-Party Apps:
Apps like Camera+ and ProCamera offer advanced settings that can help you achieve even more dramatic bokeh effects.

Advanced Techniques for Perfect Bokeh
Once you’ve mastered the basics, consider these advanced techniques for next-level iPhone bokeh photography.
Play with Light:
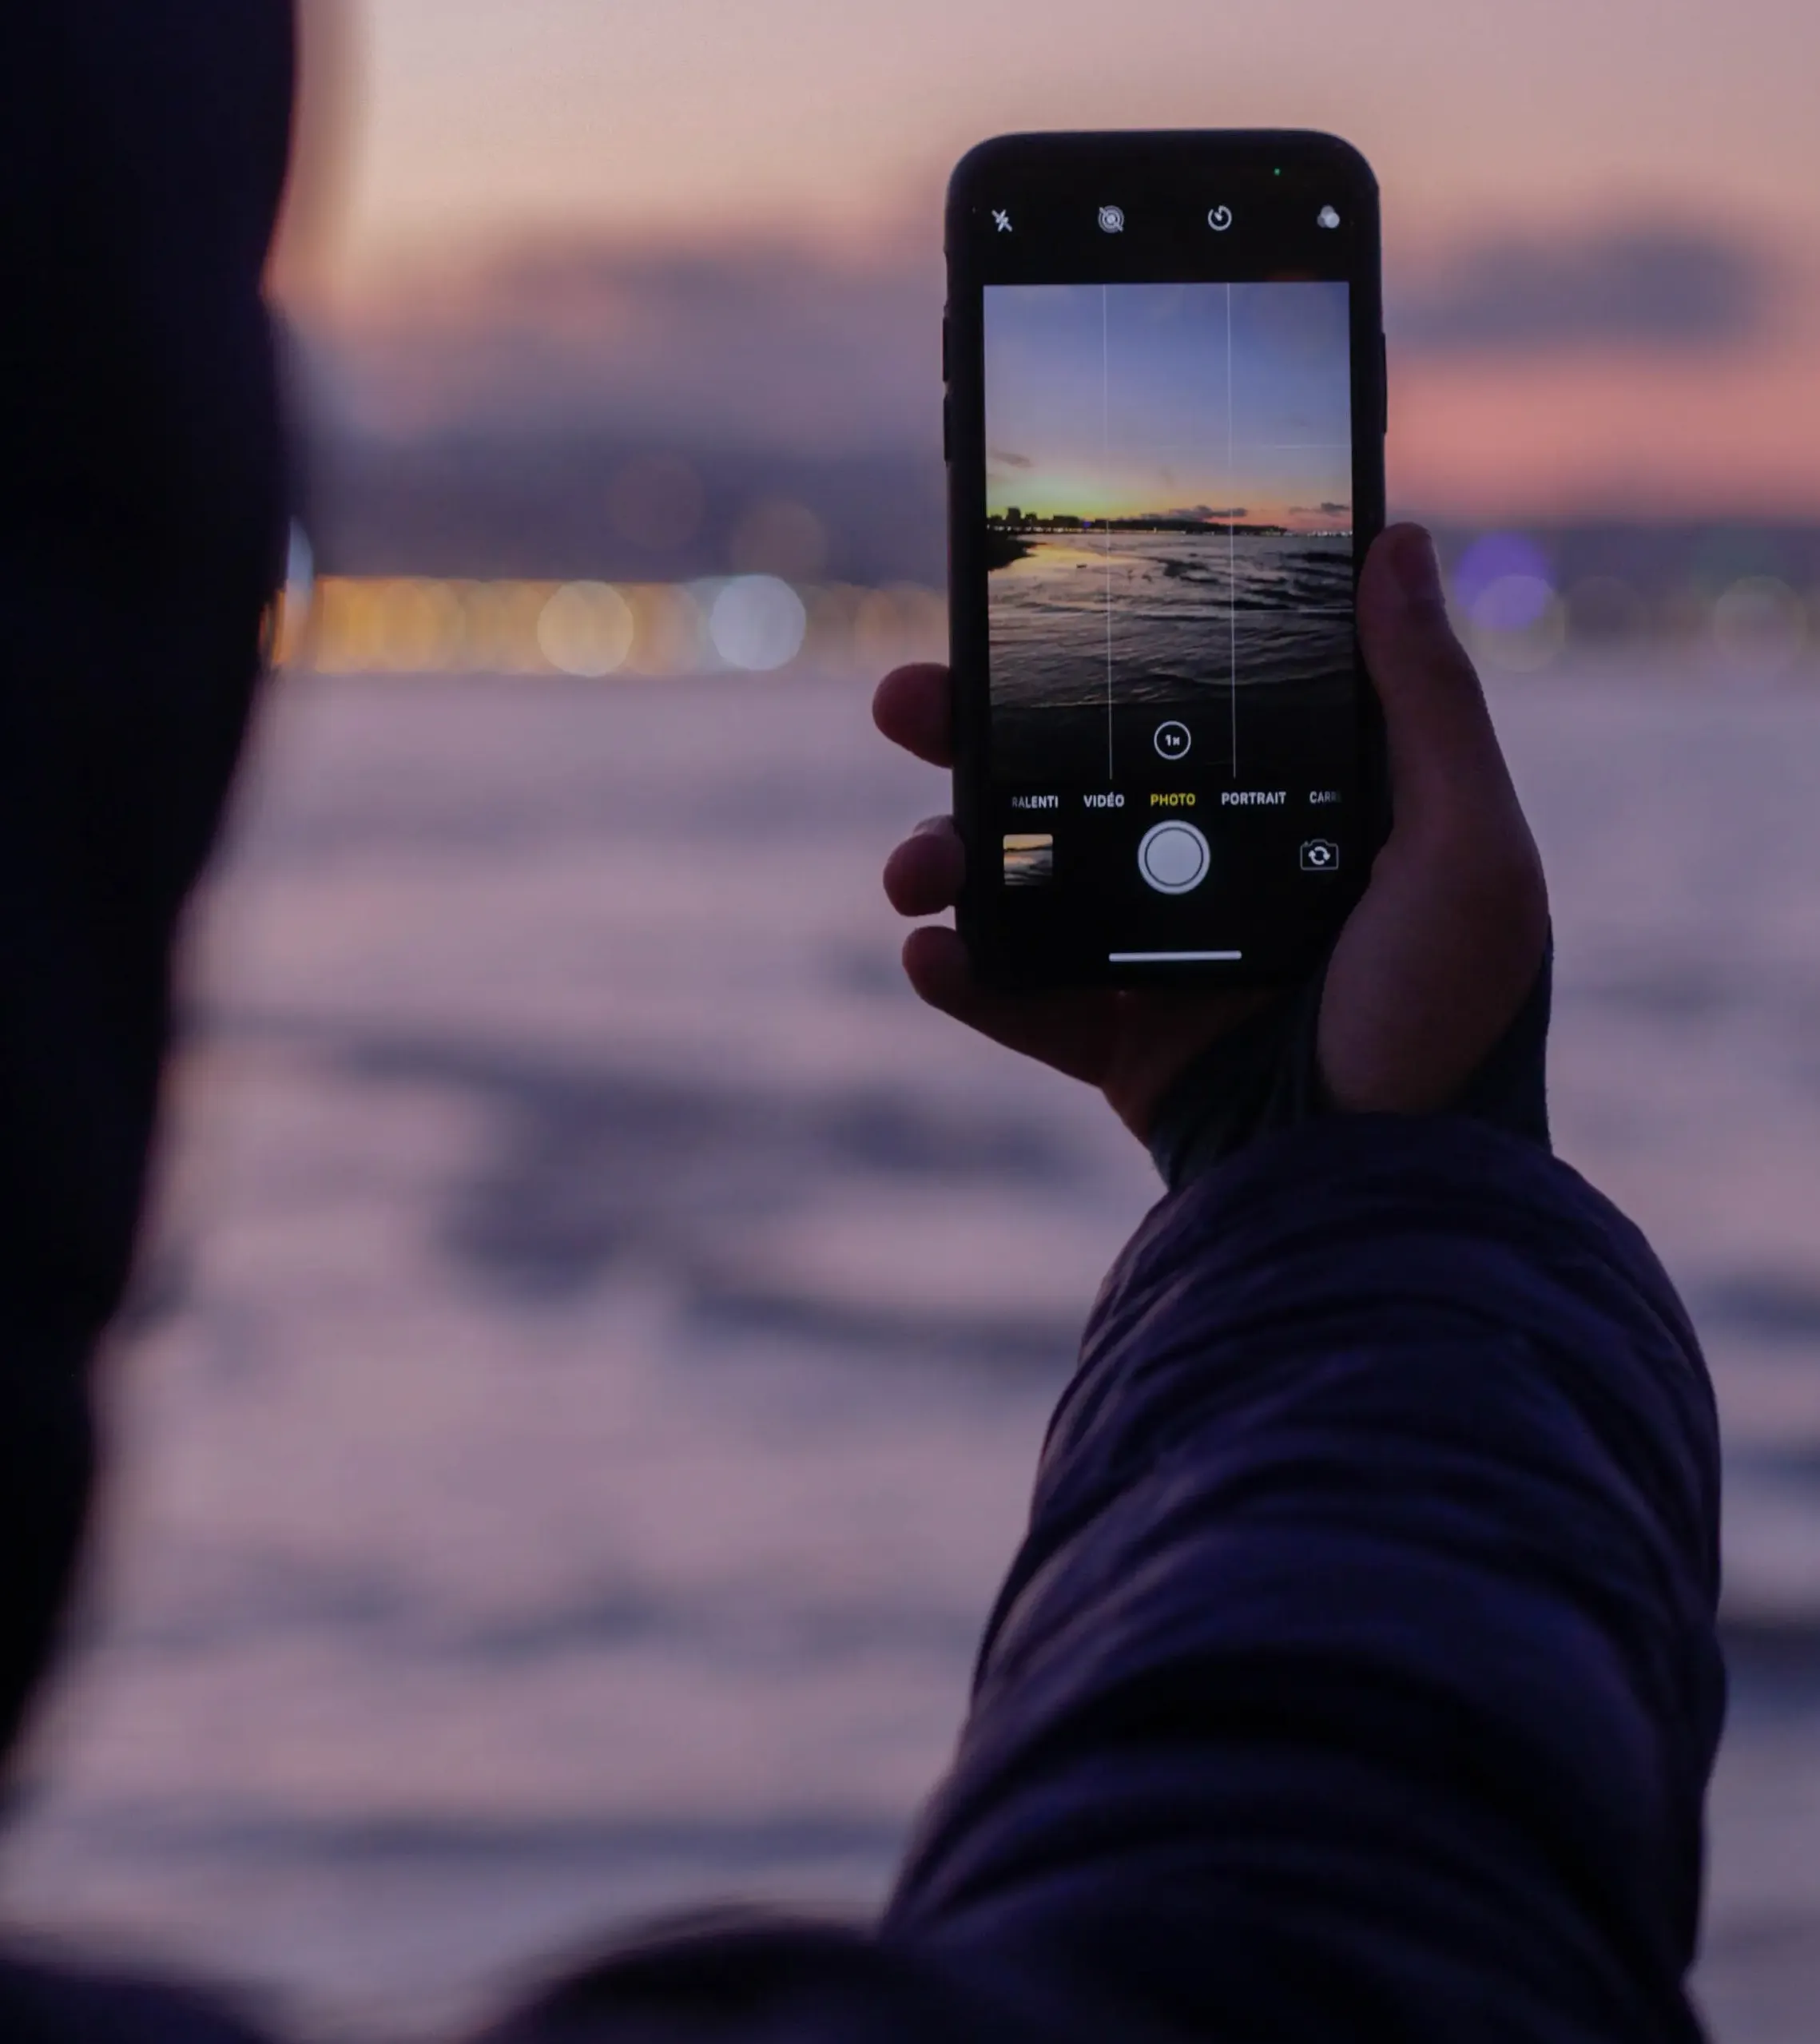
Capturing light sources in the background, like street lamps or sunlight filtering through trees, can create beautiful bokeh “balls” that add an ethereal touch to your photos.
Adjust the Aperture:
While iPhone cameras have fixed apertures, some third-party apps allow you to simulate changes in aperture, giving you more control over the depth of field and hence, the bokeh effect.
Incorporate Movement:
Experiment with capturing moving lights, such as car headlights or city lights, for dynamic, captivating bokeh photography.

Conclusion:
Bokeh photography isn’t just reserved for professional cameras and lenses. With your iPhone in hand and these top tips, you have everything you need to create breathtaking bokeh photos that bring your subjects to life. The blurred background not only adds a touch of professionalism but also serves as a canvas that makes your subject the true star of the show.